How to Check for DNS Hijacking
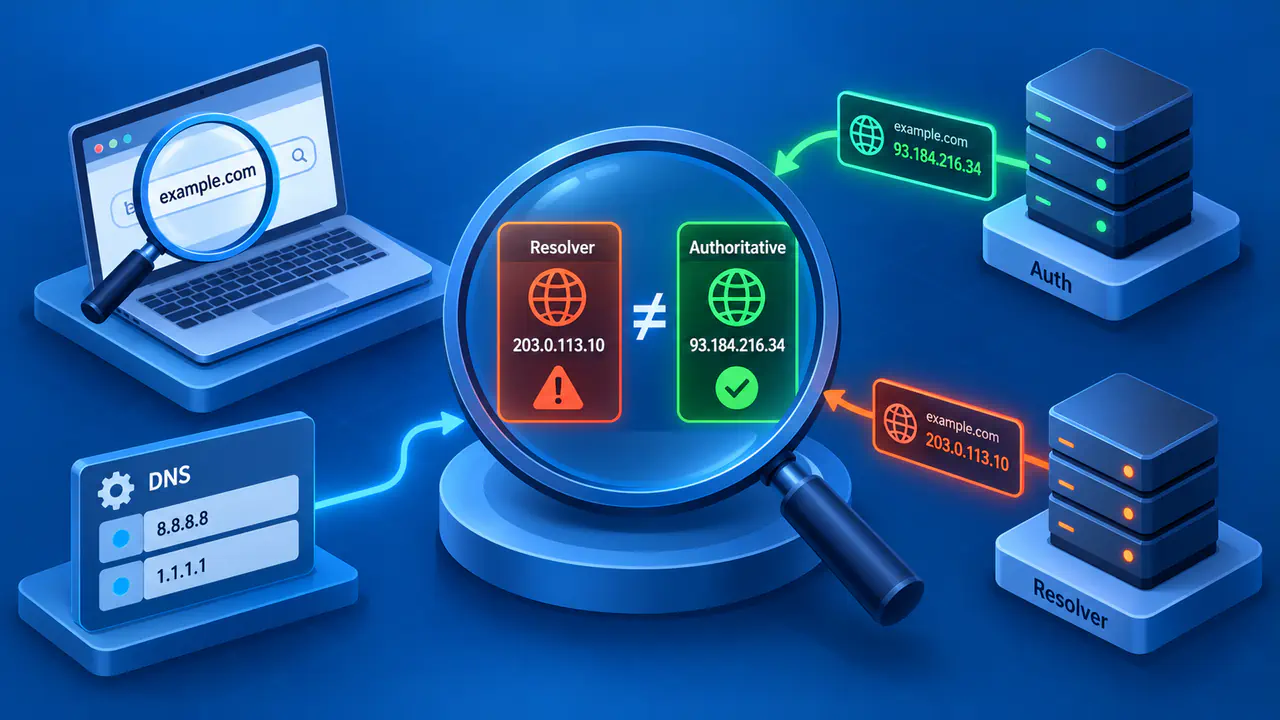
DNS hijacking involves redirecting DNS queries or changing DNS data without authorization. A device may be pointed at an unexpected resolver, a router may intercept DNS traffic, or an attacker may alter published records. A name resolving to an unexpected destination is a reason to investigate, but a different IP address alone is not proof: content delivery networks, split DNS, cache timing and filtering can legitimately produce different answers.
Start by recording the DNS settings, comparing responses through the intended service and checking for unauthorized changes. The recursive resolver looks up records for your device; the authoritative nameservers publish a domain's DNS data. Comparing these two sources helps locate a discrepancy, provided you also account for the network and time of each query.
Capture the Configured DNS Settings
On the affected device, note the DNS server addresses shown for the active network connection, including IPv4 and IPv6 entries. On Windows 11, ipconfig /all displays the adapter configuration; look at the DNS Servers entries for the connection in use. The default gateway is a separate setting and is not necessarily the DNS server. Also record the browser's encrypted DNS provider, VPN status and proxy settings.
If a router advertises itself as the device's resolver, identify its upstream DNS setting in the router's administration interface, if you manage it. A browser may use Secure DNS independently of the operating system. Compare these settings with the approved or previously recorded configuration. An unfamiliar resolver, VPN profile, proxy or hosts-file entry needs an explanation, but an ISP, employer or VPN service may have assigned it legitimately.
Keep screenshots or a small text record before changing anything, while removing private hostnames before sharing externally. If settings have changed without authorization, preserve the original observation and determine who manages the device or router. Resetting the device or router before recording its settings can make it harder to tell whether the change came from policy, a configuration error or an unauthorized action.
Compare Responses over UDP and TCP
Query the resolver by its numeric IP address so the test does not depend on first resolving the server's name. On Windows, use nslookup -debug -type=A example.com. RESOLVER_IP. With dig on macOS or Linux, use dig @RESOLVER_IP example.com. A. Replace RESOLVER_IP with the intended server address and example.com. with the exact hostname being checked, keeping its final dot to avoid a search suffix.
A asks for IPv4 address records; repeat with AAAA for IPv6 address records when relevant. Save the complete output, including the question, answer, response code, time and displayed server address. To request TCP, add -vc to the nslookup options or +tcp to the dig command. Without those TCP options, the queries normally start with UDP, although a truncated reply can trigger a retry over TCP.
A response over one transport and a timeout over another can indicate filtering or a connectivity problem. It does not establish who changed the path or whether the change was hostile. These commands test a particular DNS exchange, not necessarily the resolver path used by your browser. A displayed server address is also not cryptographic proof that the intended service supplied the response.
Look for Interception on the Network
Some DNS services have special diagnostic names that help distinguish their responses from another resolver's. For Google Public DNS, Windows examples are nslookup -debug -type=TXT test.dns.google.com. 8.8.8.8 for the usual UDP query and nslookup -debug -type=TXT -vc locations.dns.google.com. 8.8.8.8 for TCP. Use these only where querying that service is permitted; they do not change the device's DNS settings.
The first test is expected to return the TXT text "Thanks for using Google Public DNS."; the TCP test is expected to include locations.publicdns.goog. A missing expected result is a reason to inspect the path, but a timeout alone does not distinguish blocking from other reachability failures. These names and expected replies are specific to Google Public DNS, and an ordinary DNS reply is not an authenticated identity check.
If the intended service also offers a DNS over HTTPS or DNS over TLS diagnostic, compare the same query through that service with certificate verification enabled. Record which service and transport produced each result. Avoid treating a comparison between unrelated providers as a test of transport alone, since their caches and policies can differ.
Compare the same exact query on a second trusted network or device if available. A problem confined to one device points first to its settings or software; a problem across several devices behind one router points toward a shared network component. These patterns narrow the investigation without proving a cause. If only one browser is affected, inspect its Secure DNS, proxy and extension settings.
Compare Answers with Authoritative DNS
Identify the nameservers responsible for the affected name's zone, preferably from the domain operator's verified configuration. For a public name, dig example.com. A +trace can show the delegation path from the DNS root; replace the example with the exact name. A trace can also be blocked or misled on an untrusted path, so it is not an independent guarantee. Compare it from a trusted network if the local path is suspect.
Query an identified authoritative server with dig @AUTH_IP example.com. A +norecurse, replacing AUTH_IP with its numeric address and the example name with the affected hostname. In dig output, the aa flag marks an authoritative answer for the queried name; check the returned records and repeat with another listed server if needed. Preserve the entire record set, meaning the records with the same name, class and type, along with the TTL and response code. If a CNAME points to another name, compare that target in its own authoritative zone too.
An authoritative answer that differs from a recursive answer can reflect stale caching, geographic selection or filtering. Content delivery systems may select addresses using the resolver's location or other signals. Corporate split DNS can provide private records inside a VPN and public records outside it, while a filtered resolver may return a policy address or negative answer. Confirm whether these expected behaviors explain the discrepancy.
Identify the Layer That Changed
If authoritative nameservers themselves publish a destination the zone owner did not authorize, investigate the DNS provider or registrar account and recent record changes. This differs from interception between a client and its resolver. The zone owner should preserve the change history and use the provider's account recovery process to restore the intended records. A local cache flush cannot correct unauthorized authoritative data.
HTTPS can provide another clue: an unexpected certificate warning when you connect to an unfamiliar address may indicate that the endpoint cannot present a valid certificate for the requested hostname. Do not click through a certificate warning to test a suspicious site or submit credentials on an unexpected page. Certificate behavior is one piece of evidence; a valid certificate alone does not prove the DNS path was intended.
Restore the Intended Path Safely
Once the changed layer is identified, restore its configuration through the responsible owner. On a personal device, correct unauthorized DNS, VPN, proxy or hosts-file changes through the appropriate system or application controls, and check for software that may reapply them. On a managed device or network, contact the administrator rather than overriding policy. For a home router, compare its settings with the intended configuration and secure its administration if changes were unauthorized.
Retest the same hostname and record type through the intended resolver, then check the affected application without bypassing security warnings. If DNS now returns the expected data but the site still fails, investigate the connection and TLS error separately. If responses still appear to come from an unexpected service, give the network operator the saved queries, transport comparison and settings history. Repeatedly changing the local DNS field will not resolve an unexplained change elsewhere on the path.