How to Set a Static IP Address on Windows
A static local IPv4 address can be useful when a device needs a predictable address on one network. Windows lets you enter that address manually, along with the subnet mask, gateway, and DNS servers. Before making the change, choose an address approved for the network and not already assigned to another device. A number chosen at random can interrupt the connection or collide with another device.
Windows 10 and Windows 11 provide a manual IPv4 setting under Network & internet in Settings. Menu labels can vary slightly by release and connection type. Changing a local address does not purchase or assign a static public address from an internet provider.
Plan an Unused Local Address
Ask the network administrator, or check the router's addressing plan if this is your own network, for an available IPv4 address. It must be in the correct subnet, unused by another device, and outside the automatic DHCP pool unless the administrator has reserved it. Record the subnet mask, default gateway, and DNS server values supplied for that network. Keep the current automatic setting or existing manual values on record so you can reverse the change. If the network has a written allocation table, record the new assignment there as well. An address that appears unused in a quick check may still belong to a device that is temporarily offline; the allocation plan is more reliable than a momentary connection test.
For example, a network using 192.168.10.0/24 might use 192.168.10.1 as its gateway and a different unused address for the Windows PC. That is only an illustration, not a configuration to copy. The router may use another subnet or gateway. The subnet mask corresponding to a /24 network is 255.255.255.0, but use the mask actually specified for your network.
A DHCP reservation at the router is another way to keep a local address consistent while leaving the Windows device on automatic addressing. If you control the router, consider that option before configuring the device manually. If you move the PC between networks, a manual address from the first network may not work on the second.
Set Windows IP, Gateway, and DNS Values
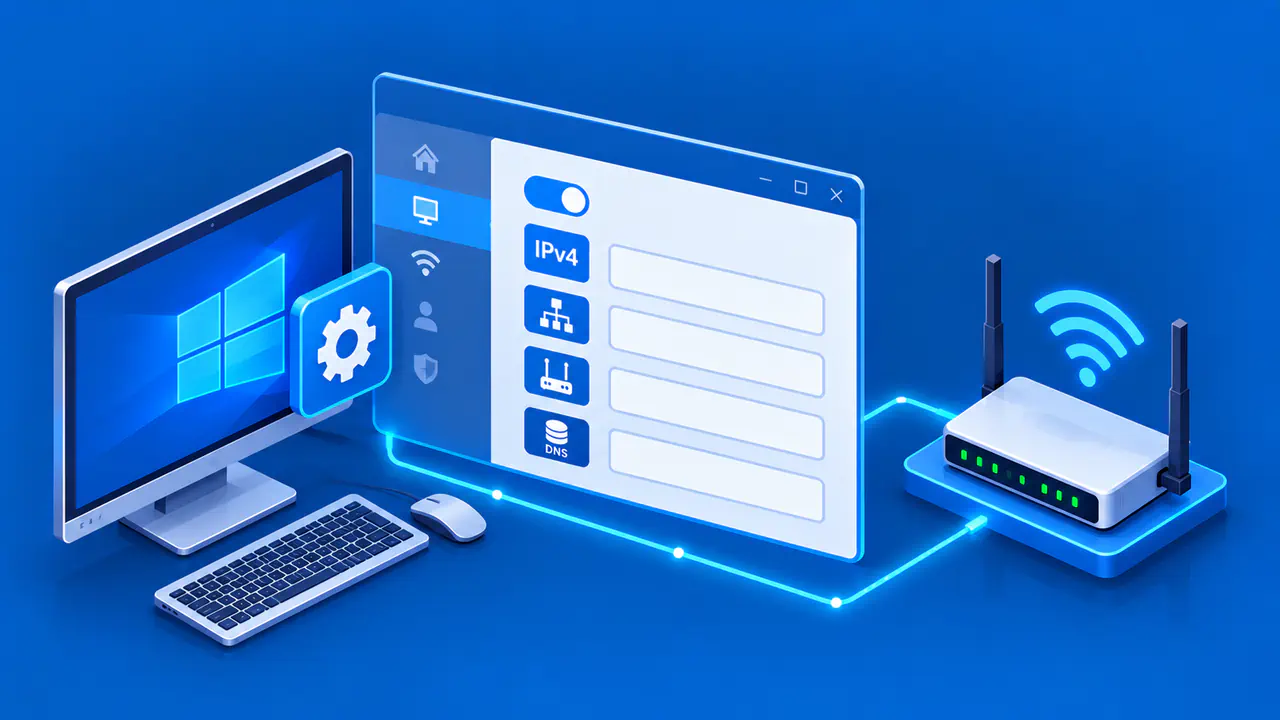
Open Start > Settings > Network & internet. For Wi-Fi, select Wi-Fi > Manage known networks and choose the relevant network. For a wired connection, select Ethernet and then the connected network. Find IP assignment, select Edit, choose Manual, and turn on IPv4.
Enter the planned IP address and Gateway. For Subnet mask, use the mask specified for your network. If the field instead says Subnet prefix length, enter the number of network bits. In the /24 example above, that value is 24.
Enter the approved DNS server in Preferred DNS and a second approved server in Alternate DNS if one is provided. Save the setting. A gateway forwards traffic to destinations beyond the local subnet, while DNS resolves names. Use the values assigned to those roles in the network plan.
If a managed PC blocks edits, follow the organization's network policy and ask its support team for the approved configuration. Do not disable security controls to make the change.
Test Local and Internet Access
First confirm that Windows shows the new IPv4 address for the intended connection. In Network & internet, open the connected Wi-Fi network or Ethernet connection and inspect its properties. Make sure the displayed address, subnet mask, and gateway match the plan. If the address is missing or outside the intended subnet, return to the settings before testing further.
Next, test reachability in stages. Try to reach the local router or another approved local device by its address. Then open a known website or an approved external service. If a local address works but a site does not, the gateway, upstream connection, or DNS may need attention. Some networks block direct reachability tests, so interpret a failed test alongside the network's policy rather than treating a single response as definitive.
Test DNS separately in Command Prompt. For example, nslookup example.com. queries that example domain through the default DNS server. Replace the example hostname with the full hostname you need to check, keeping the final dot. Inspect the server and the answer returned. A timeout means no answer arrived within the query's time limit, so check the DNS server setting and whether that server is reachable. A successful query confirms a response for that name, but it does not prove that the website or external service will connect.
Check for an address conflict if connectivity is intermittent or Windows reports a duplicate address. Stop using the chosen address and confirm the network allocation with the administrator. Avoid repeatedly assigning different unplanned addresses, which can disrupt other devices.
Rollback: Restore Automatic DHCP and DNS
If the manual setting does not work or the PC is leaving this network, reopen Settings > Network & internet and the same Wi-Fi or Ethernet connection. Next to IP assignment, select Edit. Choose Automatic (DHCP) and save. This returns IP and DNS assignment to automatic settings where those controls are combined. Confirm that the interface receives an address and the expected DNS values from the network.
If your Windows version or network controls show a separate DNS server assignment setting, check it as well and set it to Automatic (DHCP) when reverting a manual DNS configuration. This avoids leaving a stale DNS server after the IP address returns to automatic assignment. Reconnect if needed, then repeat the local and website checks. On a managed network, use the administrator's documented rollback procedure if it differs.
Returning the Windows interface to DHCP changes its local assignment method. It does not force the ISP to provide a different public IP address. After reverting, check that the PC can reach the local devices and services it needs on the current network.